After reading that fellow rose enthusiast Chris VanCleave (see his blog at http://vancleaverose.blogspot.com/) is working on an irrigation system, it occurred to me that I should share my experiences...and gain the wisdom of other gardeners' comments.
For those new to irrigation, you should know that sprinklers waste a lot of water to evaporation. Drip irrigation minimizes this waste and allows you to direct water exactly where it is needed. When watering roses it is important for the leaves to remain dry, as roses are often susceptible to a fungus called blackspot, which loves our hot, humid, Alabama climate. Together, these issues make drip irrigation the obvious choice for roses.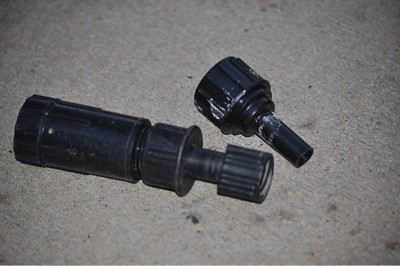 When you're learning what you want/need it is hard to beat the bargain prices of a starter drip irrigation kit on sale from Harbor Freight. As a friend of mine says, "cheap is a quality overcoming many faults." Such a kit typically includes a pressure reducer and an adapter to hook 1/4" drip tubing onto a garden hose. One step "better" involves using 1/2" polypropylene for the main lines.
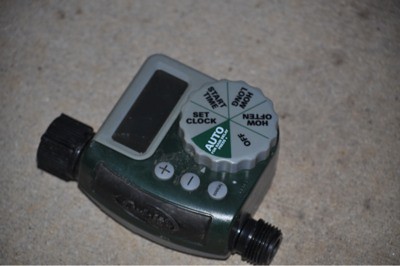 When paired with a timer it can keep your roses and other plants happy all summer. I'm hoping this timer will last more than a year, but if it does it'll be the first. This one was used with my rain barrel during the summer of 2010, but is typical of my first few rose irrigation timers.
For the first several years in our current home I wished I could water roses with the same timer installed for the lawn and other flowerbeds. Instead I used a system primarily comprised of parts like the above plus extensive lengths of 1/4" drip tubing, soaker hoses, and eventually 1/2" polypropylene. It worked fine but required extensive annual repair/rebuilding.
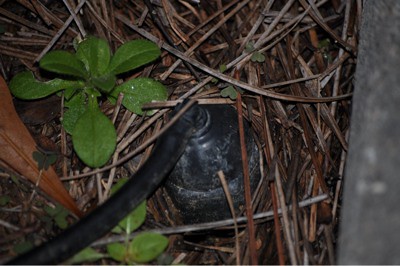
My wishes came to life when we added a pool and enlarged the lawn. It was easy to justify the integrated sprinkler/dripper system while the yard was already a mess. I buried 3/4" schedule 40 PVC at the edge of the rose bed, just as if we were going to install sprinklers. By using the higher quality indoor timer, solenoids, and PVC, the primary parts of this system should last for years. The key component is an adapter which allows the drippers to connect. I bought these at Lowe's.
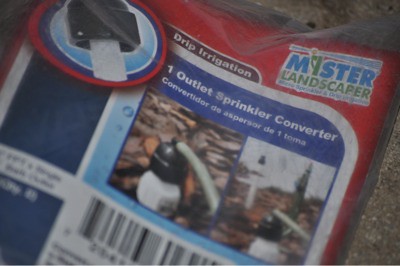
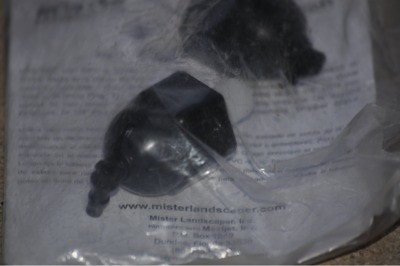
If you want a sprinkler head AND the dripper, you can use an adapter like this one.
Since there's only a few feet of 1/4" tubing it should be fairly long lived and easy to replace when the time comes. In the past I used standard drippers rated at 5 gallons/hour. Those worked OK but my ability to accidentally get sand in the lines meant that actual rates varied widely. If only there were a way to open the dripper and clean it out. Enter the adjustable rate "bubbler." The top unscrews for cleaning and the rate is adjustable, making the same part number work for every plant and its individual water needs. Drip irrigation bliss!

For the finale I added a soaker hose to one of the risers so our water loving Mexican Heather could be kept happy. It all adds up to an automated irrigation system which requires very little maintenance, should last a very long time, and lets me spend more time smelling roses and less time digging around under them.